Hey everyone!
There are so many tools — MLflow, Docker, CI/CD pipelines — it was overwhelming at first when getting started to learn about MLOps.
So I want to share what I learned. Maybe it can help you too.
Think about it like this. You build a machine learning model on your laptop and it works! But then what? How do you put it somewhere so other people can use it? How do you update it when you have better data?
That’s what MLOps is about. It’s like DevOps, but for machine learning. In this project, I built a system that:
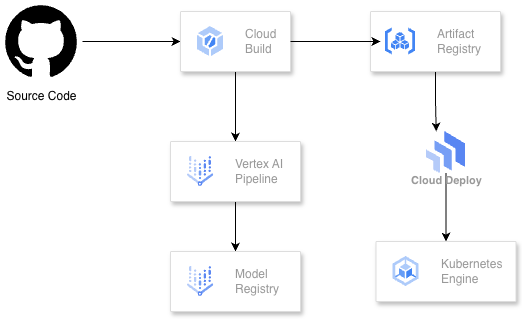
Here’s the architecture of what we’re building:
The main services I used on Google Cloud for this project are:
Before we start, make sure you have:
First, let’s set up everything we need. Open your terminal (or Cloud Shell) and run these commands:
# Set your project ID
export PROJECT_ID=$(gcloud config get-value project)
export REGION="us-central1"
export BUCKET_NAME="${PROJECT_ID}-mlops-lab"

# Clone the repository
git clone https://github.com/misskecupbung/mlops-vertex-ai-cloud-deploy.git
cd mlops-vertex-ai-cloud-deploy

Now run the setup script:
chmod +x scripts/setup.sh
./scripts/setup.sh
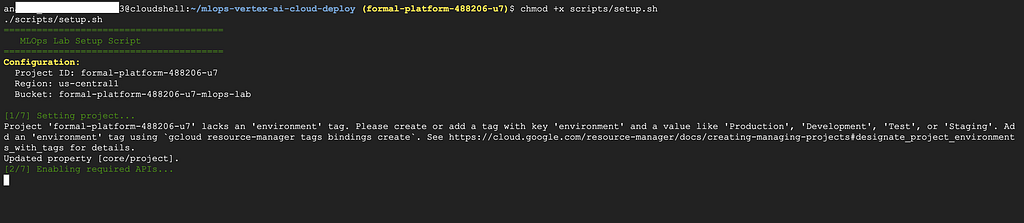
What does this script do?

This takes about 5–10 minutes.
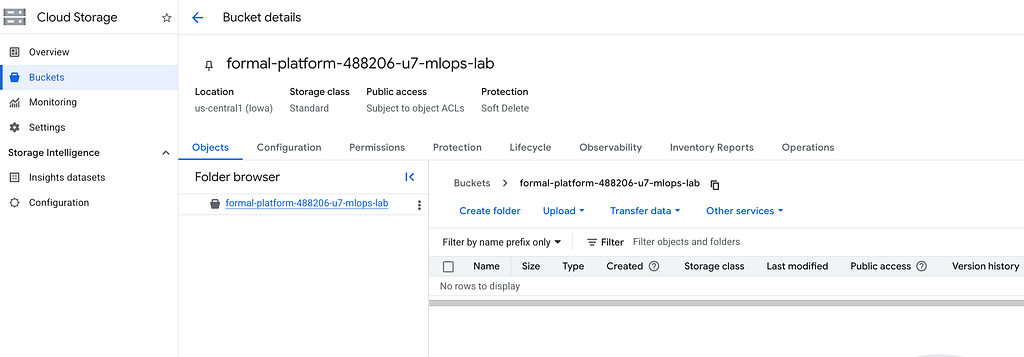
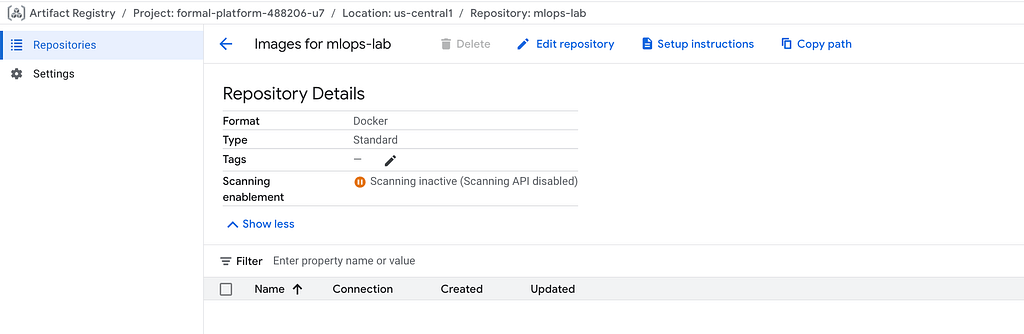
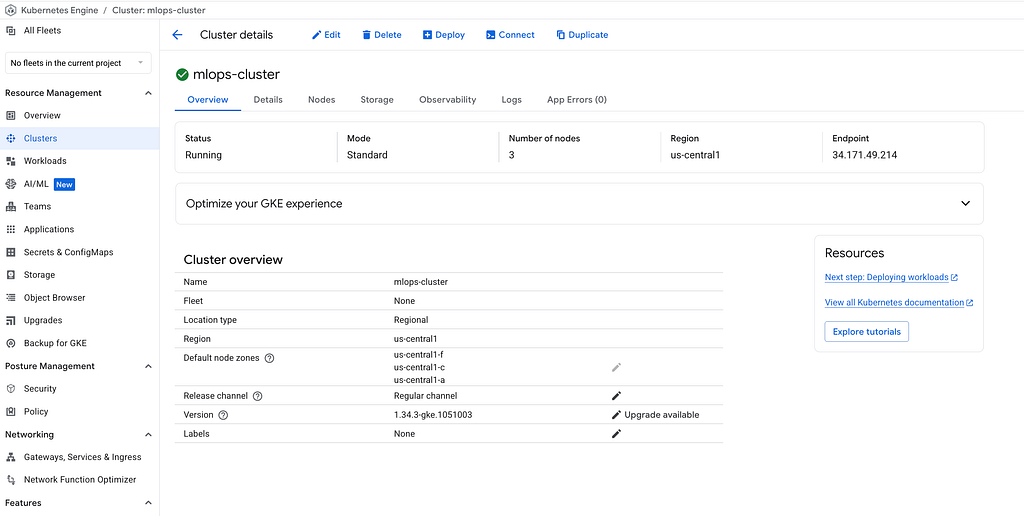
After the setup script finishes, you should have a GKE cluster running, a storage bucket created, and Artifact Registry ready to store your container images.
Now let’s build the container that will train our model. The training code is in src/train/py. It uses the Iris dataset — a classic machine learning dataset about flowers. The script loads the data, trains a Random Forest classifier, evaluates the accuracy, and saves the model to Cloud Storage.
Run this command to build the training container:
gcloud builds submit --config=cloudbuild-training.yaml

You can watch the build progress in the terminal. Or go to Cloud Console → Cloud Build → History.
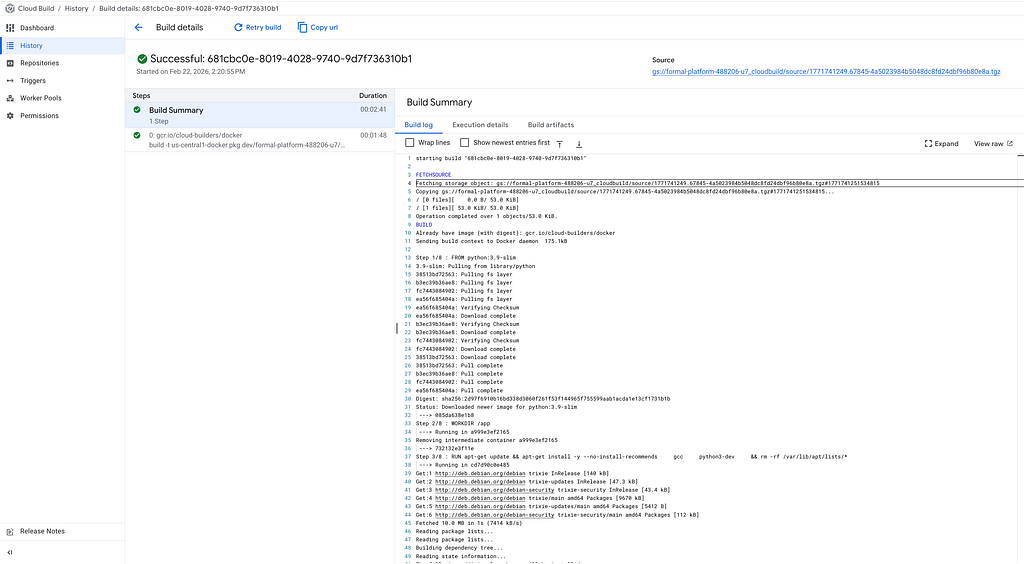
When it’s done, your training container is stored in Artifact Registry.
Next, we build the serving container. This is different from the training container. The serving container runs a FastAPI server that accepts prediction requests.
gcloud builds submit --config=cloudbuild-serving.yaml

You can watch the build progress in the terminal. Or go to Cloud Console → Cloud Build → History.
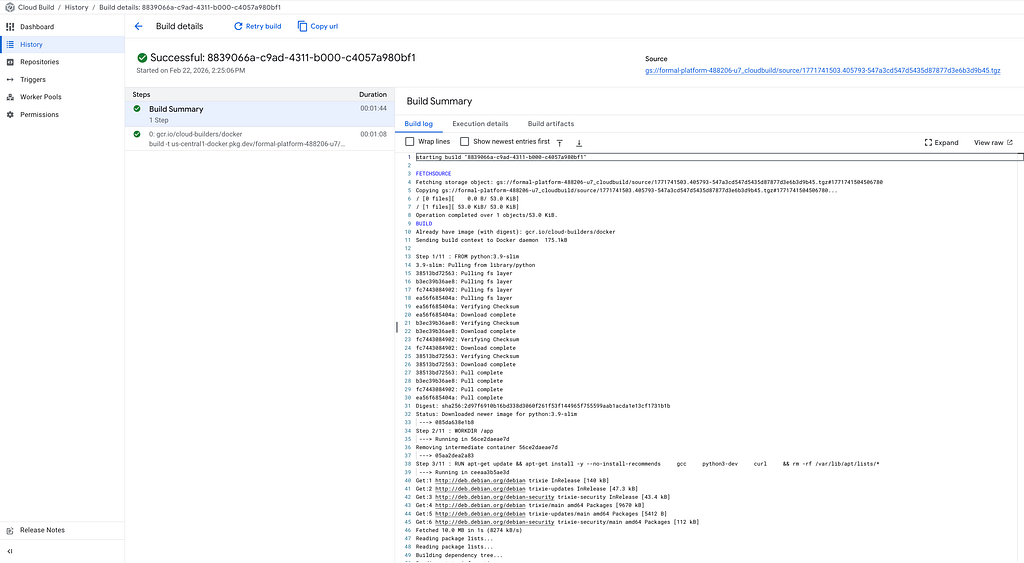
Now we have both containers ready:

Now let’s run the training pipeline on Vertex AI.
First, set up Python environment and install the requirements:
python3 -m venv venv
source venv/bin/activate
pip install -r requirements.txt

Now compile and submit the pipeline:
# Compile the pipeline
python src/compile_pipeline.py

# Submit the pipeline
python src/submit_pipeline.py

Go to Vertex AI → Pipelines in the console. You’ll see your pipeline running!
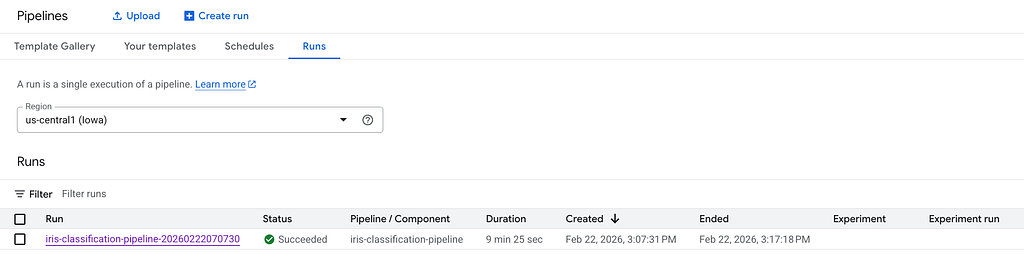
Click on it to see the details and you can watch each step:
Wait for the pipeline to finish. It takes about 5 minutes.

You can see the model stored in Cloud Storage bucket

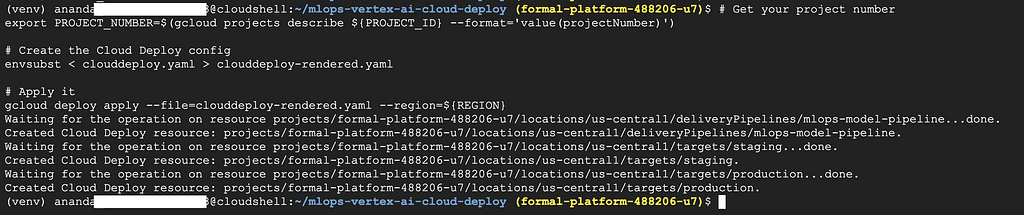
Cloud Deploy will move our model through environments. First, let’s create the delivery pipeline:
# Get your project number
export PROJECT_NUMBER=$(gcloud projects describe ${PROJECT_ID} --format='value(projectNumber)')

# Create the Cloud Deploy config
envsubst < clouddeploy.yaml > clouddeploy-rendered.yaml

# Apply it
gcloud deploy apply --file=clouddeploy-rendered.yaml --region=${REGION}
Now prepare the namespaces. This creates ConfigMaps that tell the serving pods where to find the model:
chmod +x scripts/prepare-namespaces.sh
./scripts/prepare-namespaces.sh

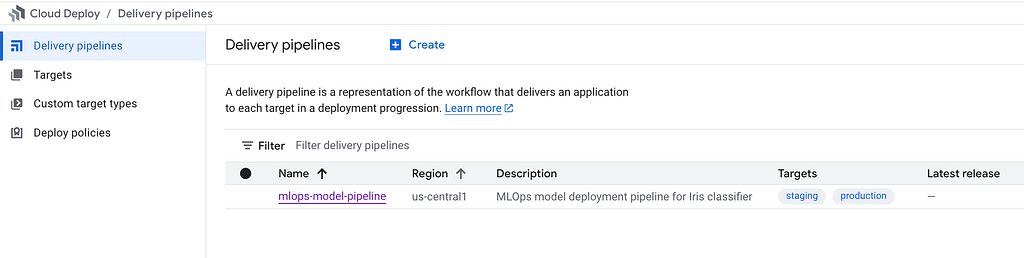
Go to Cloud Deploy in the console. You should see your pipeline with two targets: staging and production.
Now let’s deploy! Create a release to push the serving container to staging:
gcloud deploy releases create release-001 \
  --project=${PROJECT_ID} \
  --region=${REGION} \
  --delivery-pipeline=mlops-model-pipeline \
  --images=serving-image=${REGION}-docker.pkg.dev/${PROJECT_ID}/mlops-lab/serving:v1

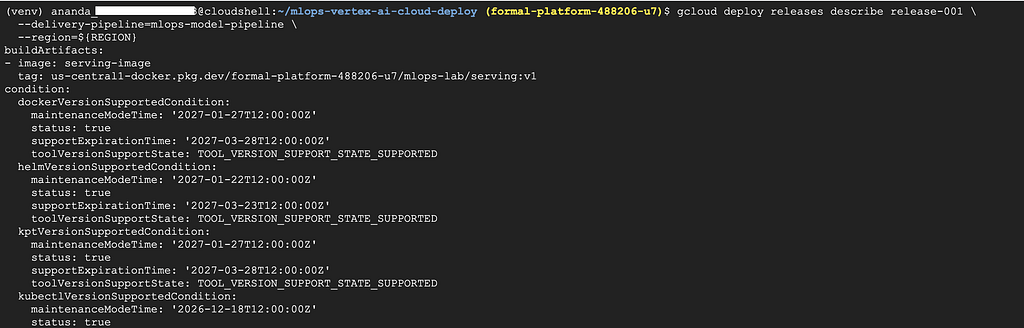
Cloud Deploy will automatically deploy to staging. Watch the progress:
gcloud deploy releases describe release-001 \
  --delivery-pipeline=mlops-model-pipeline \
  --region=${REGION}
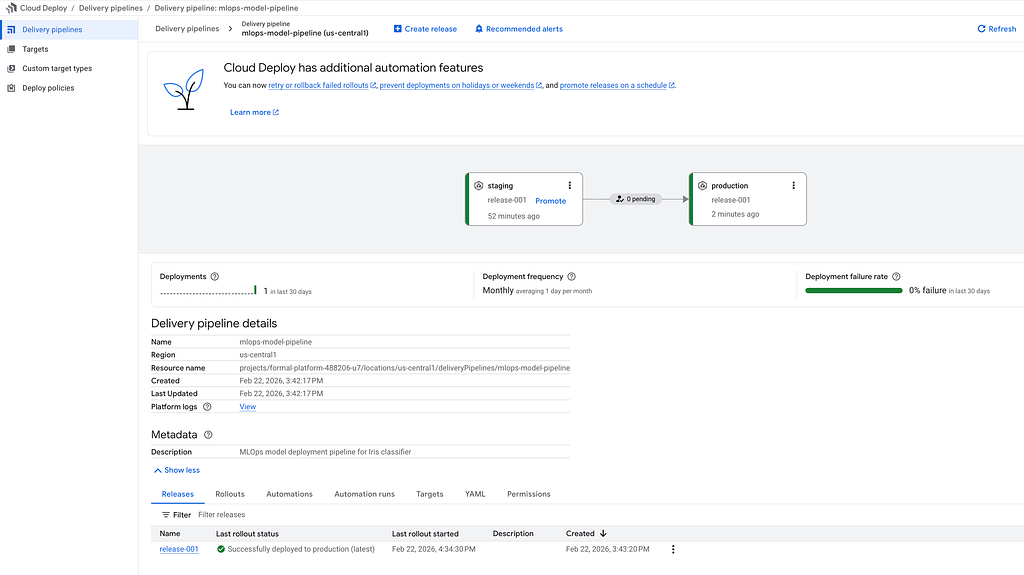
Or check the Cloud Deploy console:

Let’s make sure our model works! First, check if the pods are running:
kubectl get pods -n staging

You should see 1/1in the READY column. If it shows 0/1, wait a moment and check again.
Now get the staging IP and test it:
# Get the IP
STAGING_IP=$(kubectl get svc model-serving -n staging -o jsonpath='{.status.loadBalancer.ingress[0].ip}')
echo "Staging IP: $STAGING_IP"

# Test prediction
curl -X POST http://${STAGING_IP}:8080/predict \
  -H "Content-Type: application/json" \
  -d '{"features": [5.1, 3.5, 1.4, 0.2]}'
You should get a response like this:
{
  "prediction": "setosa",
  "confidence": 1.0,
  "probabilities": {
    "setosa": 1.0,
    "versicolor": 0.0,
    "virginica": 0.0
  },
  "model_version": "v1"
} 
It works! The model predicted sentosaflower with 100% confidence.
Staging looks good. Let’s promote to production:
gcloud deploy releases promote \
  --release=release-001 \
  --delivery-pipeline=mlops-model-pipeline \
  --region=${REGION}

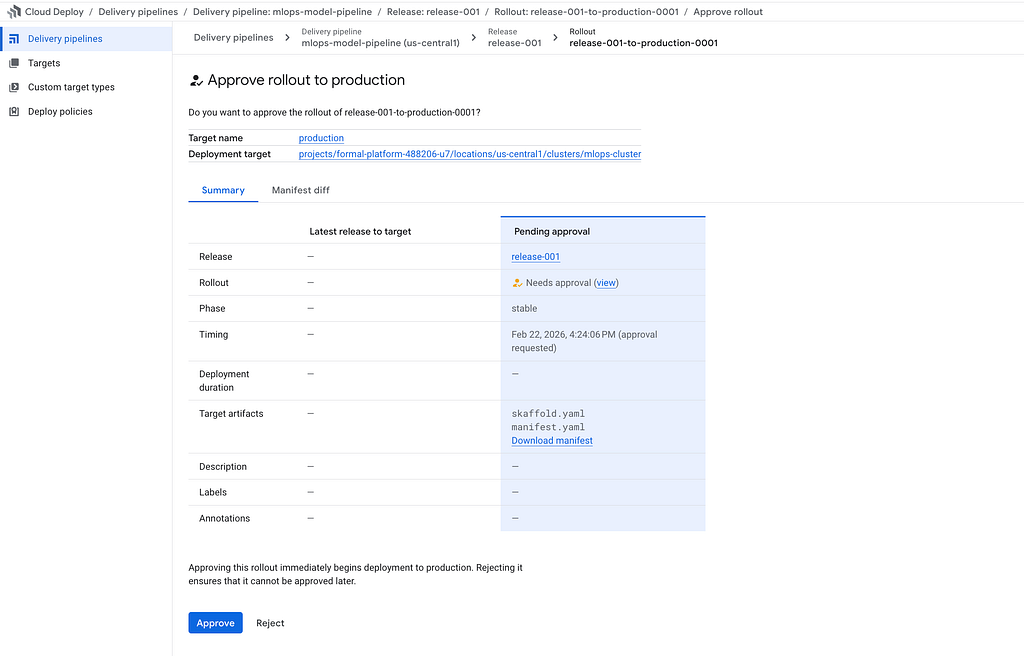
Production requires approval. This is a safety feature. You can approve from the console
Or you can approve via command line:
gcloud deploy rollouts approve release-001-to-production-0001 \
  --delivery-pipeline=mlops-model-pipeline \
  --release=release-001 \
  --region=${REGION}

Wait for the deployment to finish. Check the Cloud Deploy console:
Let’s test production the same way:
# Get production IP
PROD_IP=$(kubectl get svc model-serving -n production -o jsonpath='{.status.loadBalancer.ingress[0].ip}')

# Test with a different flower
curl -X POST http://${PROD_IP}:8080/predict \
  -H "Content-Type: application/json" \
  -d '{"features": [6.7, 3.0, 5.2, 2.3]}'
You should get a response like this:
{
  "prediction": "virginica",
  "confidence": 0.99,
  "probabilities": {
    "setosa": 0.0,
    "versicolor": 0.0004,
    "virginica": 0.99
  },
  "model_version": "v1"
} 
This time the model predicts virginica— a different type of iris flower!
The full code is here: https://github.com/misskecupbung/mlops-vertex-ai-cloud-deploy
If you have questions or feedbacks, feel free to reach out.
Keep Learning!
<hr><p>MLOps Pipeline with Vertex AI and Cloud Deploy on Google Cloud was originally published in Google Cloud - Community on Medium, where people are continuing the conversation by highlighting and responding to this story.</p>